Basic settings
Learn how to set up and configure your first Kunjani game using the basic settings panel.
1. Understand the Difference: Deck vs Game
- A Deck is your editable, reusable content template.
- A Game is a specific session where that deck is played.
You can preview and edit decks from your Deck Library. Games are created and managed separately.
2. Navigate to the Games Tab
- From the Kunjani left-hand menu, click on Games.
- If you're a new user, you’ll see an empty game list.
3. Create a New Game
- Click the New Game button (top right).
- Enter a clear, specific game name. This helps when you have many games listed later.
Use names that describe the deck, audience, and purpose. E.g., "Retail Sales Induction – Jan 2025"
4. Attach a Deck to the Game
- You must attach a deck to your game using one of two dropdowns:
- Private Library: Decks created by you or your organization
- Public Library: Shared decks available to all Kunjani users
- Select the appropriate library and choose your deck.
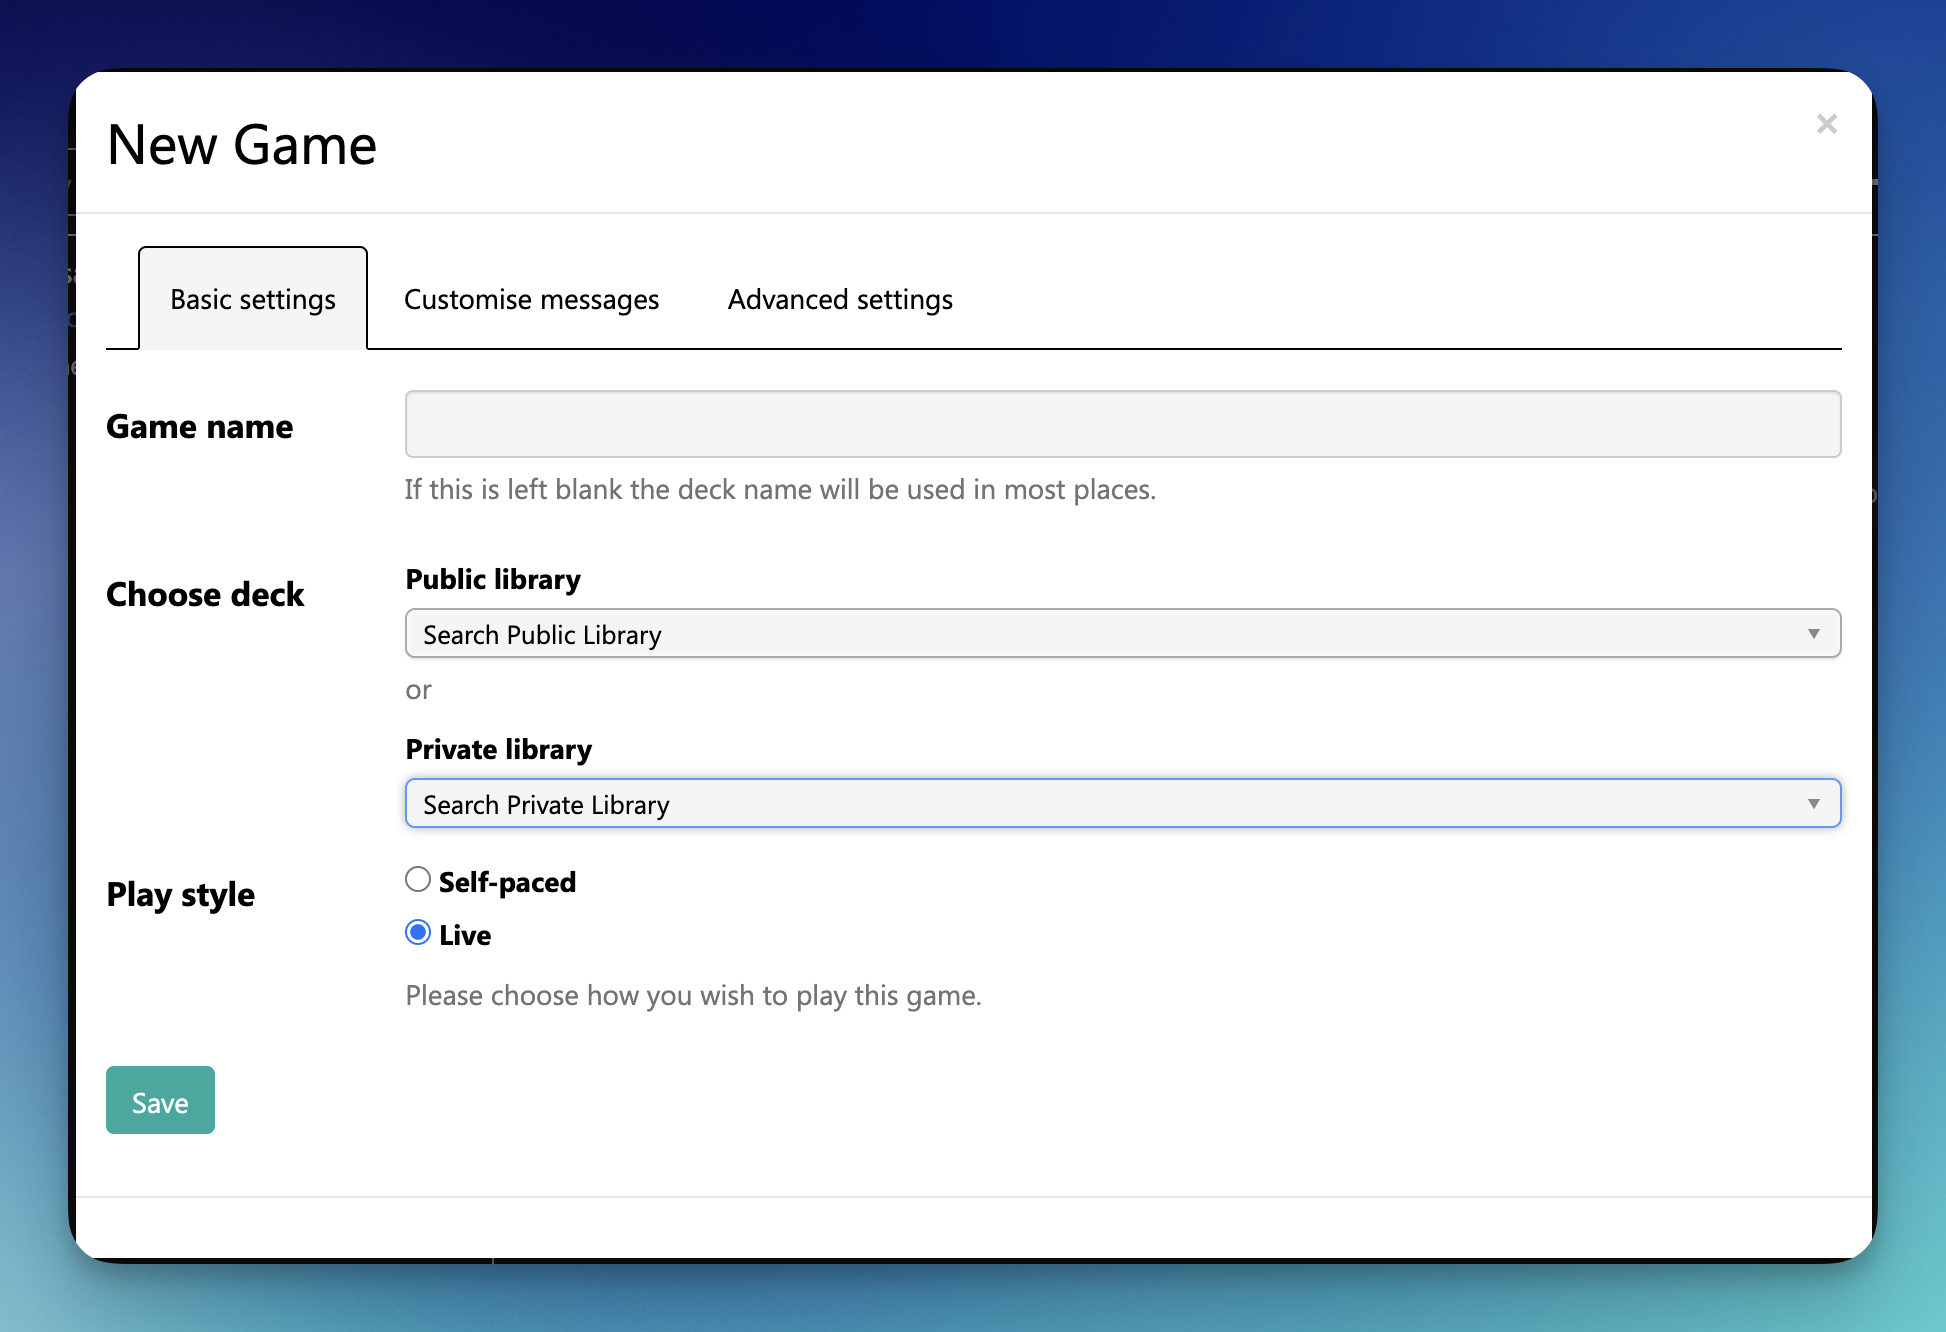
5. Choose a Play Style
-
Live:
- Everyone plays together, simultaneously.
- One dice roll applies to all players.
- Responses are submitted in real-time within a time limit.
-
Self-Paced:
- Players participate in their own time.
- You can still define a start and end time (e.g., Mon 9am to Fri 5pm).
- A leaderboard tracks progress and performance.
Choose the type that best suits your session: real-time interaction vs. flexible completion.
6. Save Your Game
- Once you’ve:
- Named the game
- Selected the correct deck
- Chosen a game type
- Click Save to create your game session.
Congratulations! You’ve set up your first Kunjani game